For videographers, capturing clean, crisp audio is just as important as nailing the visuals. But relying solely on a camera’s built-in microphone often results in lackluster sound. Tascam recorders offer a powerful solution, taking your audio game from amateur to pro. Here’s a crash course for beginners on using a Tascam recorder in video productions:
1. Gearing Up: Inputs and Outputs
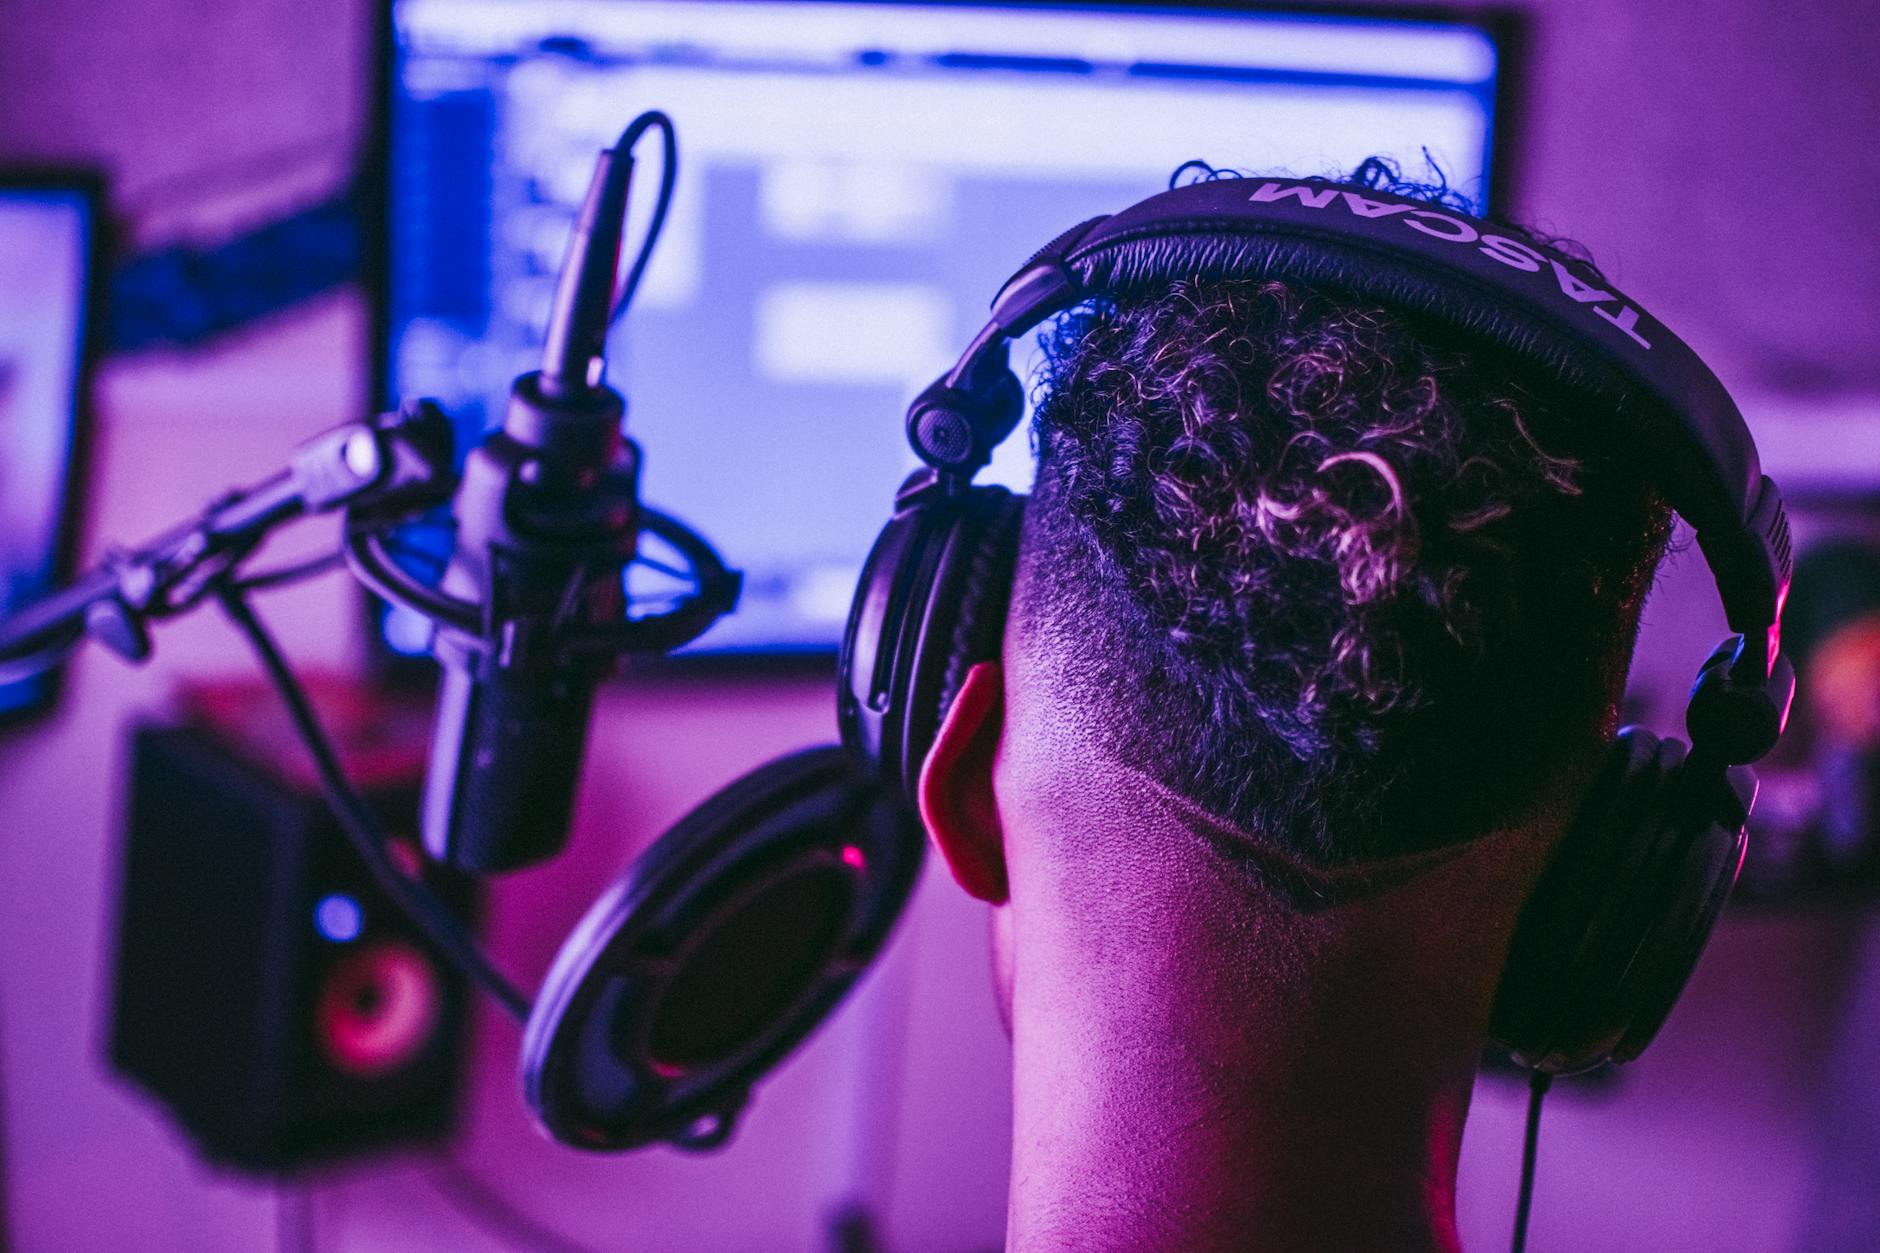
Tascam recorders boast a variety of microphone inputs, allowing you to connect professional XLR mics or lavalier mics for clear dialogue. Some models even have built-in microphones, handy for capturing ambient sound.
On the output side, you’ll typically find a 3.5mm jack for connecting directly to your camera. This sends the recorded audio signal from the Tascam to your camera, allowing you to sync audio and video in post-production.
2. Setting the Stage: Recording Modes and Levels
Tascam recorders offer various recording modes. For video, choose stereo if you’re using a single microphone or multichannel if you have multiple mics for capturing specific sounds.
Setting proper recording levels is crucial. Consult your Tascam’s manual to understand its gain knobs. Aim for a healthy level without clipping (indicated by red on the level meters). It’s better to record a bit lower and boost in post-production than to capture distorted audio.
3. File Format Finesse
Tascam recorders offer a choice of recording formats. WAV (or BWF) is the industry standard, providing high-quality uncompressed audio perfect for professional editing. However, these files can be large. MP3 is a space-saving option, but the compression can affect audio quality. Choose WAV for best results, especially for high-end productions.
4. Clapping for Clarity: Sync is King
The magic of using a separate recorder lies in syncing audio and video in post. A common technique is “clapping” – physically clapping your hands at the beginning of the recording on both camera and Tascam. This creates a distinct spike in the audio waveform, making it easy to align audio and video during editing.
5. Rolling, Rolling, Recording!
With everything set, you’re ready to record. Most Tascam recorders have dedicated record buttons. Remember to “slate” – verbally announce the scene number and take – before hitting record. This will save you time and frustration when editing later.
Bonus Tip: Power Play
Tascam recorders often run on batteries. Invest in extra batteries or a reliable power source to avoid recording interruptions at crucial moments.
By following these basic steps, you can leverage the power of a Tascam recorder to take your video productions to the next level. Remember, like any skill, audio recording takes practice. Experiment, don’t be afraid to make mistakes, and with a little time, you’ll be capturing professional-sounding audio for your videos.
Leave a Reply